 how-to
How to Plan Aging in Place Modifications
Table of Contents
- What Aging in Place Means and Why Planning Matters
- Conduct a Thorough Aging-in-Place Home Assessment Checklist
- Prioritize Aging-in-Place Bathroom Modifications First
- Design a Wheelchair-Accessible Bathroom Layout
- Create Your Aging-in-Place Renovation Planning Timeline
- Understand Funding Options and Financial Planning
- Work with a Professional Contractor and Secure Permits
- Frequently Asked Questions
Last Updated: October 10, 2026
What Aging in Place Means and Why Planning Matters
Aging in place modifications means making changes to your home so you can stay there safely as you get older. It's about adding accessibility features, improving safety, and reducing barriers that could cause falls or limit your independence.
Planning ahead matters. Most families wait until a crisis, a fall, hospitalization, or sudden mobility loss, before considering aging in place modifications. By then, decisions are rushed and stressful. The better approach is to plan now, assess your home, and make changes gradually.
At PIONEER WOODWERX, we provide dependable project management, quality craftsmanship, and solutions tailored to each home. Planning ahead can help families avoid expensive emergency renovations, stay in their homes longer, and maintain independence on their own terms.
This guide covers home assessment, priority modifications, phasing, and funding options so you can create a clear action plan.
Conduct a Thorough Aging-in-Place Home Assessment Checklist
Start with a detailed walkthrough, evaluating mobility, safety, and accessibility as strength, balance, or vision may change.
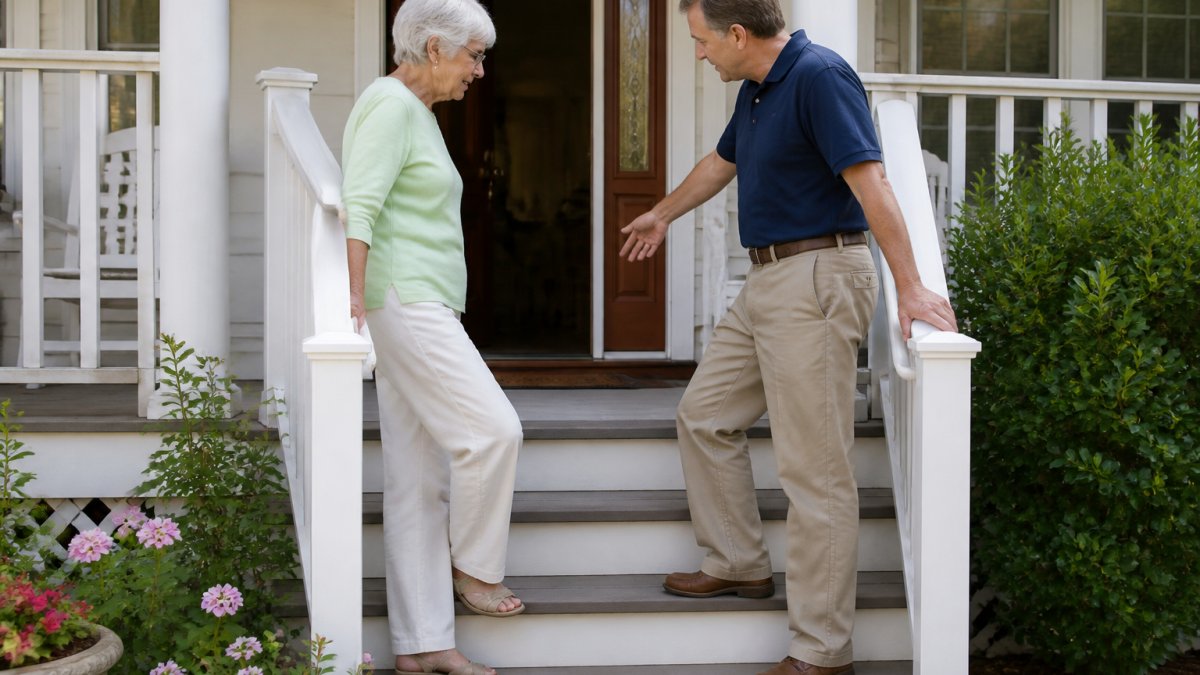
Use this checklist to evaluate each area:
Entry and Pathways
- Are there steps at the front or back door?
- Is the entryway wide enough for a walker or wheelchair?
- Are pathways clear of clutter and tripping hazards?
- Is outdoor lighting adequate?
- Are handrails present on both sides of stairs?
Bathroom
- Can you safely get in and out of the shower or tub?
- Are grab bars installed near the toilet and tub?
- Is the floor slippery when wet?
- Can you reach the sink and faucet easily?
- Is there adequate lighting?
Bedroom and Living Areas
- Is the bed at a height that's easy to get in and out of?
- Can you move around the room without obstacles?
- Are light switches easy to reach?
- Is flooring level and non-slip?
Kitchen
- Are frequently used items at waist height?
- Is there space to sit while preparing food?
- Are appliances easy to operate?
Stairs and Multi-Level Access
- How many stairs are there?
- Are railings sturdy on both sides?
- Is lighting adequate?
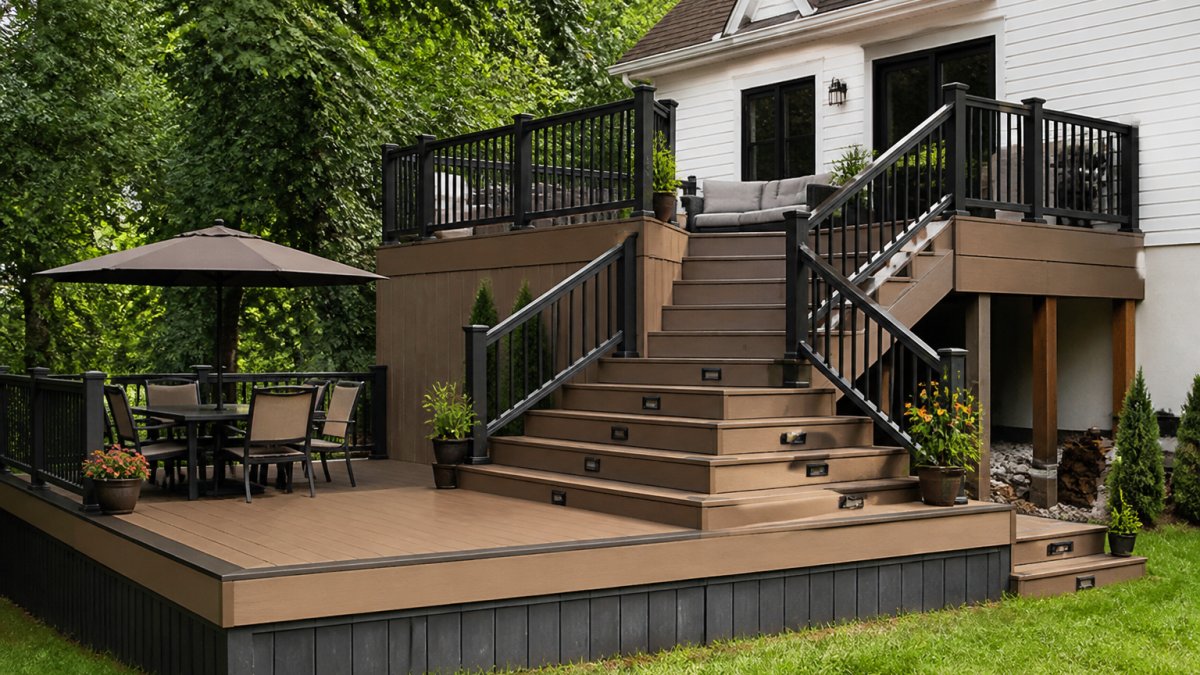
- Could a stair lift be installed if needed?
Take photos and notes, this assessment becomes your roadmap for aging-in-place modifications.
Prioritize Aging-in-Place Bathroom Modifications First
Bathrooms are where most falls happen at home due to wet floors and movement between fixtures (the CDC). Bathroom aging-in-place modifications should be your first priority.
Investing in bathroom safety first gives you the biggest return on independence and dignity.
Essential Bathroom Safety Upgrades
Start with these core modifications:
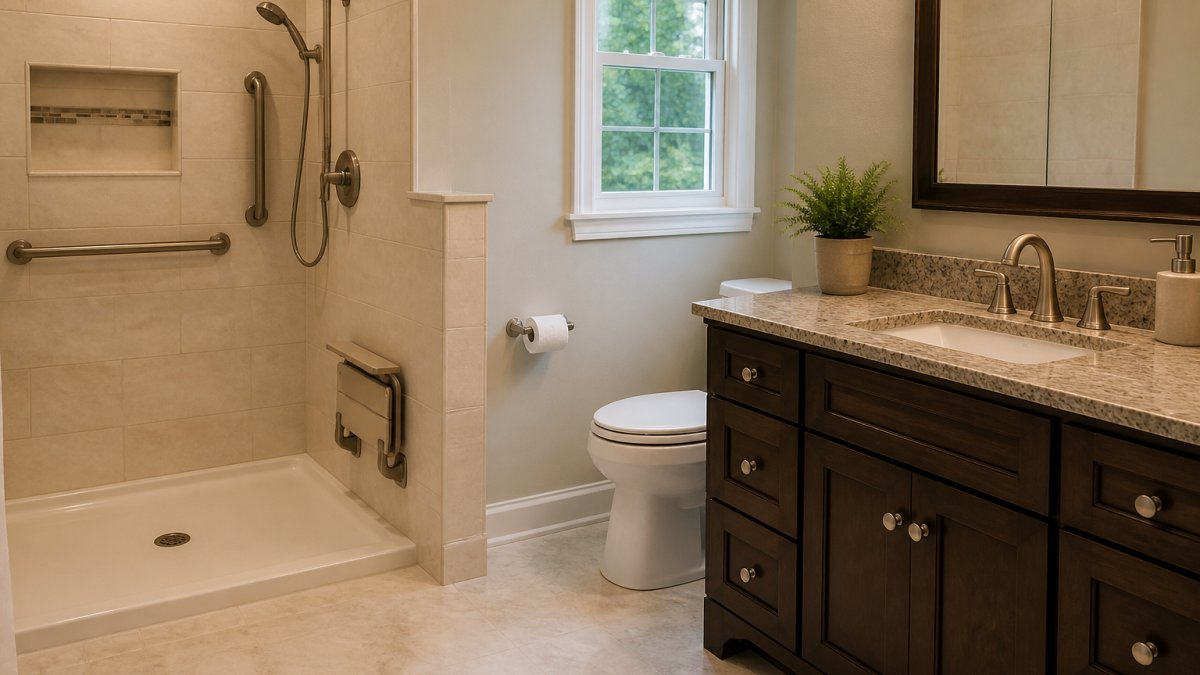
- Grab bars near toilet, shower, and tub provide stability when balance is uncertain.
- Non-slip flooring (mats, textured tile, or coatings) reduces fall risk on wet surfaces.
- Accessible shower or tub (walk-in with low threshold or transfer bench) improves entry safety.
- Raised toilet seat eases sitting and standing.
- Adequate lighting (50+ foot-candles at mirror) ensures safe movement.
- Accessible sink and vanity with clearance for seated use and lever-handle faucets.
Design a Wheelchair-Accessible Bathroom Layout
For significant mobility challenges, a wheelchair-accessible bathroom creates full accessibility beyond basic safety.
Space Requirements and Door Width
A wheelchair-accessible bathroom requires space to maneuver; standard layouts may need reconfiguration.
- Door width: 32 inches minimum clear opening.
- Turning radius: 60 inches of clear space for wheelchair maneuver.
- Fixture clearance: 18 inches in front of toilet, sink, and shower for approach and transfer.
Accessible Fixtures and Grab Bar Placement
- Toilet: 17-19 inches high with grab bars at 33-36 inches on each side.
- Sink: 27 inches clearance underneath for wheelchair access; lever-handle faucets.
- Shower: Roll-in with zero-threshold, non-slip floor, grab bars at 33-36 and 48 inches.
- Vanity and storage: Keep items within reach; avoid high or low cabinets.
PIONEER WOODWERX specializes in bathroom renovations, maximizing function in your available space.
Create Your Aging-in-Place Renovation Planning Timeline
A phased approach spreads work and cost over time, letting you adjust as needs change.
Phase 1: Immediate Safety Upgrades (Weeks 1-4)
Start with low-cost, high-impact changes:
- Install grab bars in bathrooms and near stairs
- Add non-slip mats and treads
- Improve lighting with brighter bulbs or additional fixtures
- Remove tripping hazards (throw rugs, clutter)
- Install a raised toilet seat
- Caulk gaps and smooth rough edges
These low-cost changes significantly reduce fall risk and can be completed in weeks.
Phase 2: Accessibility Modifications (Months 2-6)
Tackle bigger accessibility projects: walk-in showers, doorway widening, entrance ramps, stair lifts, bathroom reconfiguration, flooring updates, and accessible hardware. Plan for 2-4 months depending on scope.
Phase 3: Long-Term Structural Changes (Months 6-18)
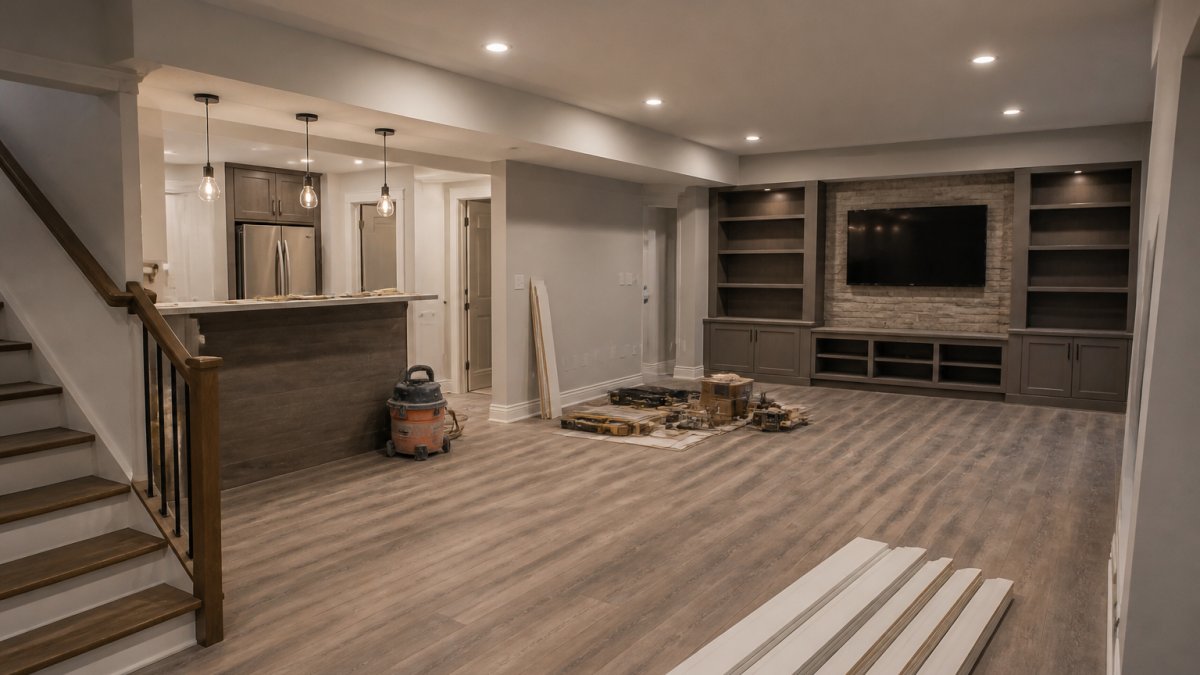
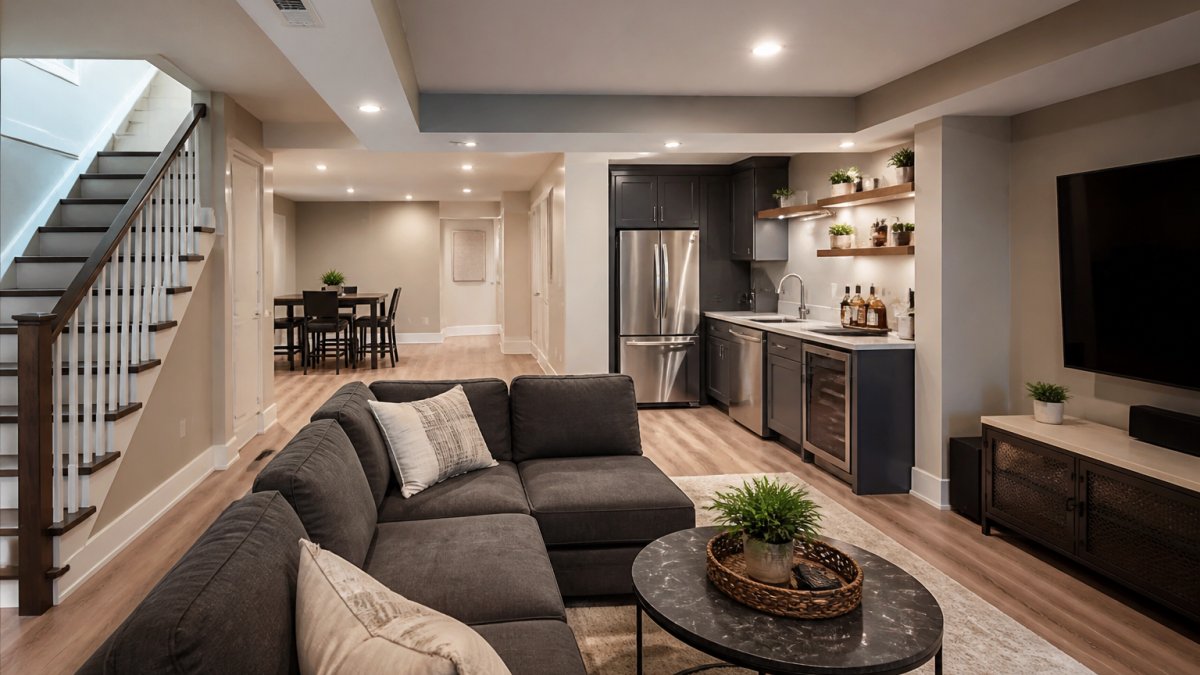
Major renovations (full bathroom remodels, main-floor bedrooms, elevators, kitchen renovations, open floor plans, basement spaces) take 6-18 months and set up your home for years of independent living.
Understand Funding Options and Financial Planning
Understanding funding options and eligibility helps you plan realistically.
New Jersey-Specific Programs and Eligibility
Federal Programs and How to Access Them
Insurance and Tax Considerations
Creating a Funding Strategy
Most projects combine multiple funding sources: (1) Assess income and assets to determine program eligibility; (2) Prioritize by urgency and cost; (3) Apply for grants first (no repayment required); (4) Explore loans for larger projects if needed; (5) Document everything for grant applications and tax deductions.
Work with a Professional Contractor and Secure Permits
Professional installation is essential for structural, plumbing, electrical, and accessibility work. Choosing the right contractor and understanding permit requirements protects your investment.
Contractor Selection Checklist
Before hiring, verify these credentials and experience:
-
Aging-in-place or accessibility experience: Request references from projects completed and verify timeline, quality, and communication.
-
Licensing and insurance: Verify valid licensing, general liability insurance, and workers' compensation. Request certificates.
-
Building code knowledge: Verify familiarity with building codes and ADA Accessibility Guidelines, including grab bar placement, doorway widths, and turning radiuses.
-
Written estimate and scope: Require detailed, itemized estimates listing materials, labor, timeline, and permit costs with references to applicable codes.
-
Warranty and guarantees: Confirm warranty length (minimum one year on labor and materials).
-
Local knowledge: Contractors familiar with the local area navigate local permits, inspections, and code enforcement efficiently.
Understanding New Jersey Permit Requirements
Most aging-in-place modifications require permits to ensure code compliance and safety. Your contractor should handle applications.
-
Bathroom remodels: Require permits for plumbing, electrical, or structural changes. Expect approval and inspections.
-
Electrical work: New lighting, outlets, or circuits require licensed electrician and permit. Expect approval.
-
Plumbing modifications, New fixtures, relocated pipes, or changes to water supply/drainage require a plumbing permit and licensed plumber. Inspections occur before walls are closed and after final connection. Expect permit approval.
-
Ramps and exterior accessibility: Require building permit if altering structure. Ramps must meet ADA slope (1:12 ratio). Expect approval.
-
Stair lifts and elevators: Require building and electrical permits with licensed, certified installer. Expect approval.
-
Flooring and non-structural changes: Non-slip mats and cosmetic updates typically don't require permits; new flooring installation may.
Building Code Compliance and Accessibility Standards
Building codes and ADA Accessibility Guidelines (ADAAG) provide key standards:
-
Grab bars: 1.25-1.5 inches diameter, mounted 33-36 inches from floor, supporting 250 pounds. Mount into studs or blocking, not drywall.
-
Doorway widths: Minimum 32 inches clear opening. Widening requires structural verification and permit.
-
Ramp slopes: Maximum 1:12 ratio (1 inch rise per 12 inches of run). A 2-foot rise requires a 24-foot ramp.
-
Flooring: Must be slip-resistant when wet (COF 0.6+). Textured tile or non-slip coatings meet code.
-
Lighting: Bathrooms require adequate lighting. Critical for safety and inspections.
The Permit Process and Timeline
- Contractor submits permit application to the local Building Department. Processing takes time.
- Permit is issued and posted on-site before work begins.
- Inspections during construction at key stages (framing, electrical, plumbing, final) ensure code compliance.
- Final inspection confirms code compliance and issues Certificate of Occupancy or Completion.
Avoiding Costly Mistakes
-
Don't skip permits, Unpermitted work creates liability, voids warranties, complicates home sales, and may not be covered by insurance if something goes wrong.
-
Get multiple estimates, Obtain at least three detailed estimates from licensed contractors. Compare scope, materials, timeline, and warranty. The lowest price is not always the best value.
-
Verify insurance before work begins, Ask for proof of insurance and confirm coverage is active. If a contractor is injured on your property and uninsured, you could be liable.
-
Require a written contract, Include scope, timeline, payment schedule, warranty, and permit responsibilities. A contract protects both you and the contractor.
-
Communicate about changes, If you want to modify the scope during construction, get a written change order. Verbal agreements lead to disputes and cost overruns.
Frequently Asked Questions
How do I start planning aging-in-place home modifications?
Begin by conducting a thorough home assessment to identify safety risks and accessibility barriers. Walk through each room, checking entry points, bathroom access, lighting, and pathways for potential hazards. Make a prioritized list based on immediate safety needs versus long-term comfort improvements. Involve the older adult in this process to understand their specific needs and preferences. Once you've identified priorities, research funding options and consult with a contractor experienced in aging-in-place modifications to develop a realistic timeline and budget.
What are the most important aging-in-place bathroom modifications?
Bathrooms are where most fall injuries occur for older adults, so they should be your priority. Essential modifications include installing grab bars near the toilet and shower, adding a walk-in shower or tub with a low step, improving lighting, and ensuring non-slip flooring. Consider raised toilets for easier transfers and accessible sinks with knee clearance. For wheelchair accessibility, ensure adequate turning space and install a roll-in shower. These modifications significantly reduce fall risk while maintaining independence and dignity.
What should I consider when designing a wheelchair-accessible bathroom?
A wheelchair-accessible bathroom requires minimum 60-inch turning radius in the main space and at least 32 inches of clear doorway width. Install a roll-in shower with a sloped floor or curb-free entry, grab bars at 33-36 inches high, and an accessible sink with at least 27 inches of knee clearance. Position the toilet with grab bars on both sides and ensure adequate space for wheelchair transfer. Lighting should be bright and positioned to avoid glare. Work with a contractor familiar with accessibility standards to ensure all elements meet current building codes.
How long does aging-in-place renovation planning typically take?
The planning phase usually takes 2-4 weeks, depending on your home's size and complexity. This includes conducting a thorough assessment, researching modifications, gathering contractor quotes, exploring funding options, and securing necessary permits. Once planning is complete, actual installation timelines vary widely based on the scope of work, simple bathroom upgrades may take 2-4 weeks, while comprehensive renovations can take several months. Working with an experienced contractor helps ensure realistic timelines and reduces delays.
Planning aging-in-place modifications is an investment in your independence and safety. Start with a home assessment, prioritize bathroom safety, and phase work over time based on your needs and budget. Working with an experienced contractor like PIONEER WOODWERX ensures the job is done right, meets building codes, and gives you a home that supports you for years to come. Request a free consultation to discuss your aging-in-place modification needs and get a clear plan.