 ultimate-guide
How to Waterproof a Basement Before Finishing
Table of Contents
- Signs of Basement Water Damage You Should Never Ignore
- Interior vs Exterior Basement Waterproofing: Which Approach Fits Your Home
- Basement Drainage Systems That Keep Water Away From Your Foundation
- Step-by-Step: How to Waterproof a Basement Before Finishing
- Step 1: Inspect and Identify Moisture Sources
- Step 2: Pull the Right Permits Before Any Work Starts
- Step 3: Address Cracks, Grading, and Gutters
- Step 4: Install Interior Drainage and the Sump System
- Step 5: Install the Vapor Barrier and Seal the Seams
- Step 6: Let Everything Cure Before Framing
- Step 7: Re-Test Before You Close the Walls
- Common Mistakes to Avoid When Waterproofing a Basement
- Hiring a Basement Contractor in Central New Jersey
- Long-Term Maintenance for a Finished Basement
- Frequently Asked Questions
Last Updated: September 19, 2026
Signs of Basement Water Damage You Should Never Ignore
Learning how to waterproof a basement before finishing starts with recognizing the warning signs early. At PIONEER WOODWERX, we've seen many finished basements in Old Bridge and across Central New Jersey where drywall went up over a problem that was already there.
- Efflorescence: A white, chalky powder on foundation walls. It's mineral salt left behind by water moving through concrete porosity.
- Musty odor: A damp smell that never goes away, even with ventilation, points to hidden moisture behind finished surfaces.
- Tide marks or staining: Brown rings near the floor line show where water has risen and receded.
- Bowing or cracking foundation walls: Horizontal cracks suggest hydrostatic pressure pushing inward. That affects structural integrity, not just appearance.
- Peeling paint or warped baseboards: Water vapor transmission through the wall is the usual culprit.
Interior vs Exterior Basement Waterproofing: Which Approach Fits Your Home
Interior and exterior basement waterproofing solve different problems. Interior systems manage water that has already entered the foundation; exterior systems stop it before it reaches the wall. Most Central New Jersey homes need both, because clay-heavy soil and a seasonally high water table push water from both directions.
How to Decide: A Practical Framework
Work through these questions in order; the first that applies usually points to your answer.
- Is water entering through the wall itself, or only at the floor-wall joint? Floor-wall joint seepage is almost always an interior drainage problem. Water weeping through the middle of the wall points to exterior hydrostatic pressure.
- Are there horizontal cracks or bowing? Horizontal cracking in a block or poured wall signals soil pressure pushing inward. That is an exterior problem, and interior sealants will not hold it back.
- How high is the water table in your area? In much of Middlesex, Monmouth, and Union County, the water table sits high enough in spring that a sump pump and interior drainage channel are effectively mandatory, regardless of what you do outside.
- What is on the other side of the wall? A finished patio, a driveway, a mature tree, or a shared property line can make exterior excavation impractical or prohibitively disruptive.
- Is the basement already finished? If you are waterproofing before finishing, you have the rare advantage of open walls. That is the cheapest moment you will ever have to do this work correctly.
When Exterior Excavation Makes Sense
Exterior excavation is the right call when hydrostatic pressure is severe, when foundation walls show structural cracking or bowing, or when the water table sits high most of the year. Crews dig to the footing, apply a waterproofing membrane, install a drainage board, and lay weeping tile that routes water away from the house. It is disruptive and slow, but it solves the problem at the source.
Interior Drainage and Sealing Options
Interior options suit homes where exterior digging is impractical, and they are standard for pre-finishing prep. The toolkit has three layers: crack sealing, vapor control, and drainage.
| Method | What It Does | Best For |
|---|---|---|
| Hydraulic cement | Expands as it cures to plug active leaks in cracks and tie holes | Stopping visible seepage before other layers go on |
| Silicate concrete sealant | Reacts with free lime in concrete to densify the surface and reduce vapor transmission | Damp walls with no standing water |
| Waterproofing coating | Creates a surface barrier over the wall face | Light seepage and damp walls |
| Interior drainage channel | Collects water at the floor-wall joint and routes it to a sump pit | Ongoing seepage, high water table |
| Sump pump and discharge line | Moves collected water out and away from the foundation | Every interior system |
| Vapor barrier | Blocks moisture vapor from migrating into framing and insulation | Pre-finishing prep, always |
What Each Approach Does Not Solve
Exterior excavation does not fix a bad grade or a downspout dumping water at the foundation. Interior drainage does not relieve hydrostatic pressure. A vapor barrier does not stop a leak. Each layer handles one job, and skipping one means the next works harder than designed.
Basement Drainage Systems That Keep Water Away From Your Foundation
A basement drainage system is only as good as the water management outside your house. Gutters, grading, and downspout extensions protect a foundation more than most interior products ever will.
Start with the outside:
- Gutter maintenance: Clear debris twice a year. Overflowing gutters dump water right at the foundation.
- Downspout extension: Route discharge at least 6 feet from the wall. Short splash blocks don't cut it.
- Grading: Soil should slope away from the house at roughly 6 inches over the first 10 feet.
- French drain: A gravel-filled trench that intercepts surface water before it reaches the foundation.
Step-by-Step: How to Waterproof a Basement Before Finishing
Here is the sequence we follow before any basement finishing project in Central New Jersey. Skipping a step means paying for it later, usually after the drywall is up.
Step 1: Inspect and Identify Moisture Sources
Walk the space after a heavy rain, not on a dry day. Look for seepage at the floor-wall joint, efflorescence, damp patches, and staining that has changed shape since the last storm.
Run two simple tests:
- Plastic sheet test for vapor transmission. Tape a 12-inch square of clear plastic to the wall and leave it for 24 hours. Condensation on the underside of the plastic means moisture vapor is moving through the concrete. Condensation on the room-facing side means you have a humidity problem, not a wall problem.
- Powder test for active seepage. Dust a suspect crack with talcum powder and check it after the next rain. A visible track means water is actively moving through that crack.
Step 2: Pull the Right Permits Before Any Work Starts
In New Jersey, most basement finishing work requires permits, and drainage or sump pump discharge work often does too. Electrical and plumbing rough-ins always require permits and inspection. Homeowners skip this step most often, and it causes the most trouble at resale.
Step 3: Address Cracks, Grading, and Gutters
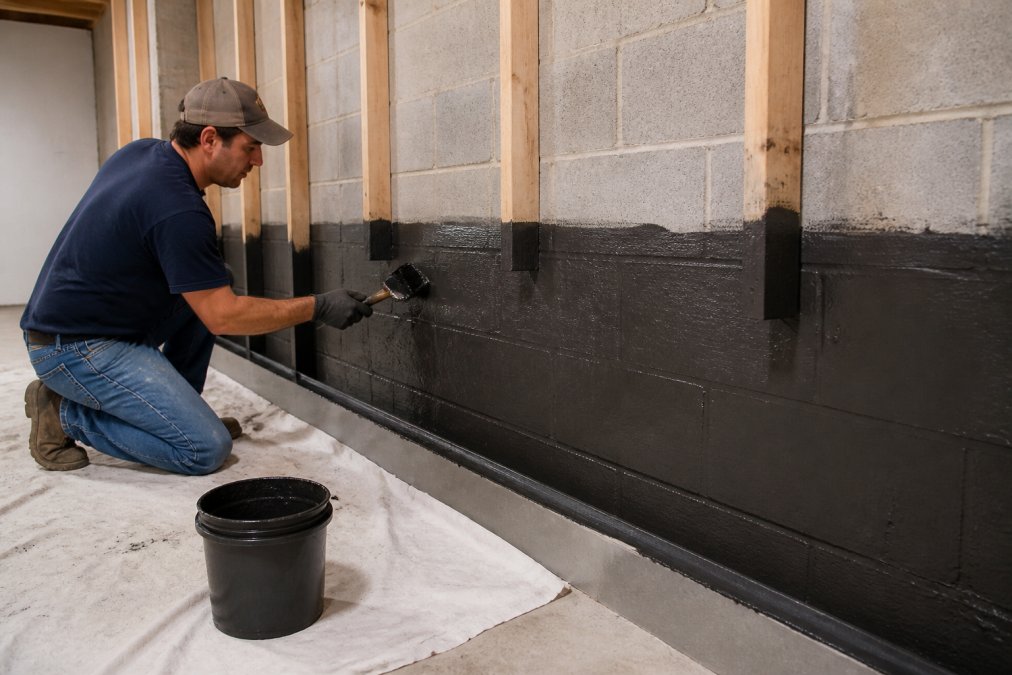
Seal foundation cracks with hydraulic cement, working it into the crack rather than smearing it over the surface. Let it cure per the manufacturer's instructions, then apply a waterproofing coating over the area.
Outside, fix the water sources:
- Grading: Soil should slope away from the house at roughly 6 inches over the first 10 feet. Add compacted soil where it has settled against the foundation.
- Downspouts: Route discharge at least 6 feet from the wall. Short splash blocks do not cut it.
- Gutters: Clear debris twice a year. Overflowing gutters dump water directly at the foundation.
Step 4: Install Interior Drainage and the Sump System
Install an interior drainage channel along the perimeter at the floor-wall joint, sloping it toward a sump pit. Tie the pit to a sump pump with a discharge line that exits above grade and well away from the foundation. In clay-heavy Central New Jersey soil, the discharge point matters as much as the pump: water dumped back against the house will find its way in again.
Step 5: Install the Vapor Barrier and Seal the Seams
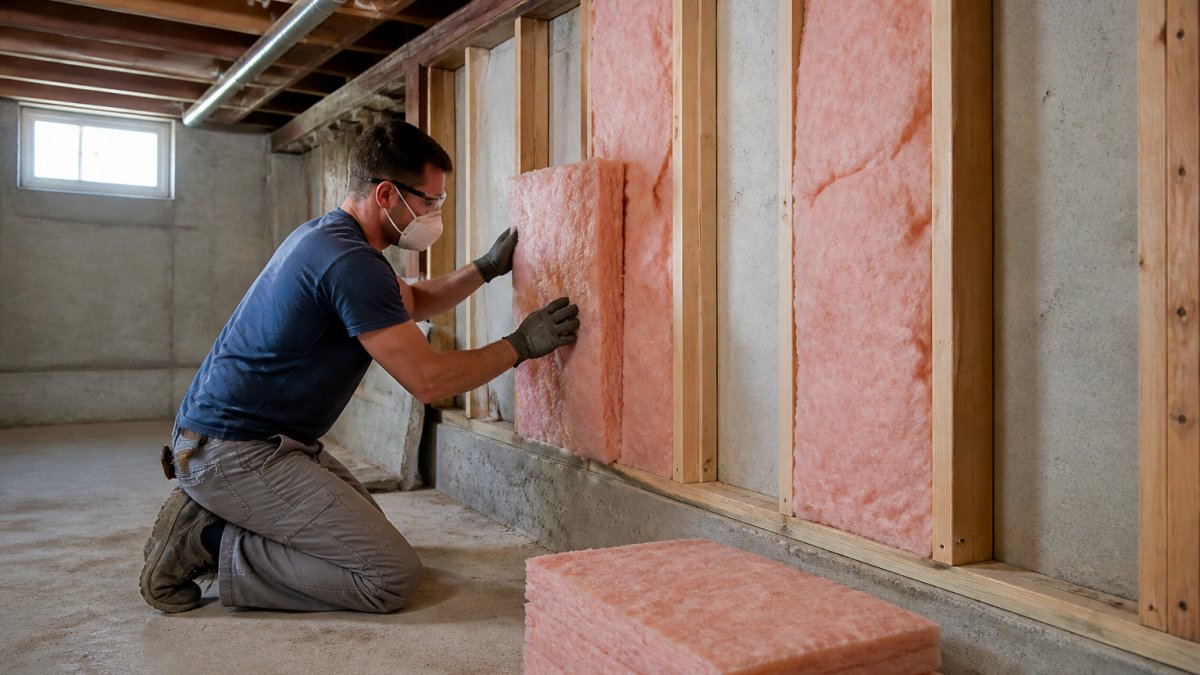
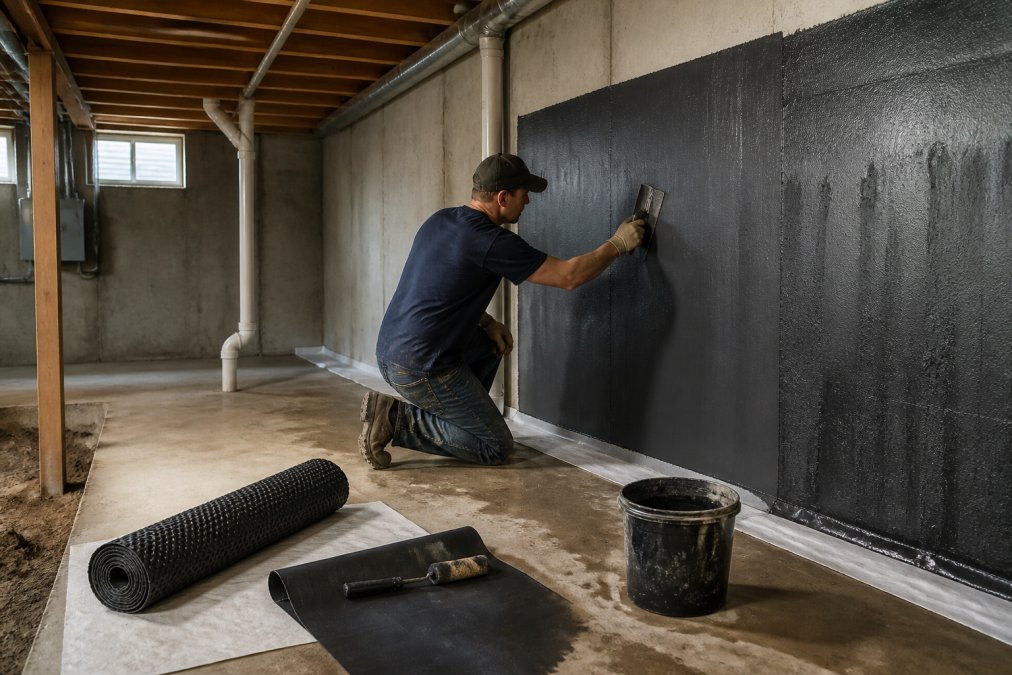
Lay a moisture vapor barrier across the floor and run it up the walls behind where framing will go. Overlap and seal the seams. This layer keeps moisture from migrating into framing, insulation, and drywall after the space is finished.
Step 6: Let Everything Cure Before Framing
Sealants, coatings, and hydraulic cement all need full cure time before they are covered. Cure times vary by product, so follow the manufacturer's instructions. Framing over an uncured coating traps solvent and moisture behind the wall.
Step 7: Re-Test Before You Close the Walls
Before drywall goes up, run the plastic sheet test again on the same spots and check the floor-wall joint after a rain. If the wall is still damp or the joint seeps, stop and address it. This is the last cheap moment to fix a problem.
Common Mistakes to Avoid When Waterproofing a Basement
The biggest mistake is waterproofing from the inside only and calling it done. Interior coatings and sealants manage symptoms. If hydrostatic pressure keeps pushing water against the wall, it will eventually find a new path.
Other frequent errors:
- Skipping the vapor barrier: Framing directly against bare concrete invites mold.
- Ignoring the water table: In parts of Central New Jersey, the water table sits high enough that a sump pump is mandatory, not optional.
- Sealing cracks without fixing drainage: The crack comes back, usually wider.
- Finishing too soon: Give sealants and membranes full cure time before framing.
Hiring a Basement Contractor in Central New Jersey
Hiring a basement contractor in Central New Jersey comes down to three questions: Do they understand local soil and water table conditions? Will they pull the right permits? Will they stand behind the work?
Long-Term Maintenance for a Finished Basement
A finished basement still needs attention. Build these habits into your routine:
- Test the sump pump before every wet season
- Clear gutters each spring and fall
- Check downspout extensions for clogs
- Run a dehumidifier to keep relative humidity under 50%
- Inspect foundation walls annually for new cracks or efflorescence
- Re-check grading after any landscaping work
Frequently Asked Questions
Should I waterproof my basement from the inside or outside?
The right approach depends on your home's specific issues. Exterior waterproofing involves excavating around the foundation to apply a membrane and improve drainage, which addresses water before it reaches the wall. Interior methods like sealants, drainage channels, and sump pumps manage water that already enters. Many Central New Jersey homes need a combination. A contractor can assess your soil, water table, and foundation condition to recommend the best path.
What are the signs of moisture issues in a New Jersey basement?
Watch for efflorescence (white chalky deposits), musty odors, damp spots on walls or floors, peeling paint, and visible cracks in the foundation. In New Jersey, high water tables and clay-heavy soils make these signs common. If you notice any of them before finishing your basement, address the moisture first. Finishing over active leaks traps problems behind drywall and can lead to mold and structural damage.
Can I finish a basement that has minor efflorescence?
Minor efflorescence means water is moving through the concrete and leaving mineral deposits. Before finishing, you need to stop that moisture. Clean the area, apply a silicate concrete sealant or crystalline waterproofing product, and confirm the source is resolved. If efflorescence returns after sealing, there is ongoing water intrusion that requires drainage improvements or professional evaluation. Never cover it with framing and drywall without fixing the cause.
How do I identify the source of basement leaks before finishing?
Start with a visual inspection during or right after rain. Check wall-floor joints, cracks, window wells, and pipe penetrations. Look for staining, dampness, or efflorescence. Test for moisture vapor transmission by taping a plastic sheet to the concrete for 24 hours; condensation underneath indicates vapor movement. For hidden leaks, a contractor may use moisture meters or thermal imaging. Fixing the source before finishing prevents costly rework later.
Waterproofing a basement before finishing is the difference between a space your family actually uses and one you avoid. If you're planning a basement remodel in Old Bridge or anywhere in Central New Jersey, get the moisture work right the first time. PIONEER WOODWERX brings veteran-owned project management, full remodeling capability, and basement expertise to every job, from waterproofing prep through final finishes. Request a free consultation and let's build a basement that stays dry.