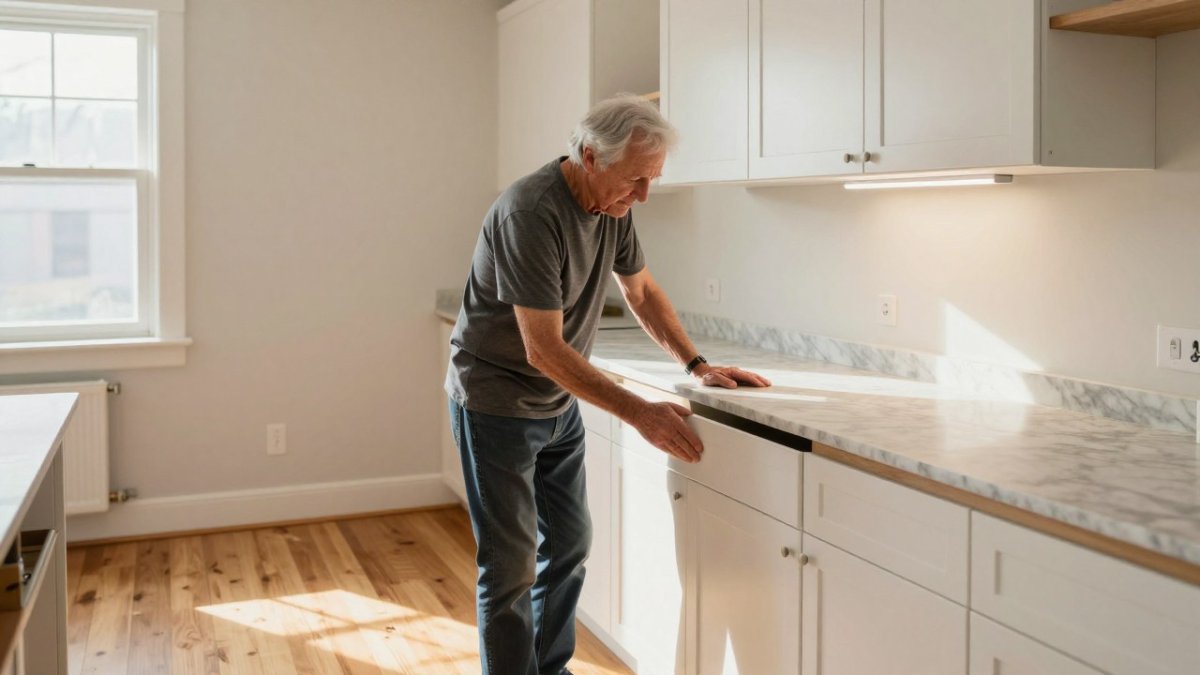
 Ultimate guide
The Complete Guide to Accessible Kitchen Design for Seniors
Last Updated: November 18, 2026
Quick Summary
Accessible kitchen design arranges cabinets, counters, appliances, and open floor space so a person with limited mobility, reduced strength, or a wheelchair can cook and clean up without help. Plan clear circulation and turning space first, then set counter heights by zone with open knee clearance and assign storage by reach.
- Measure the narrowest pass-through point between the refrigerator door swing and the opposite counter before ordering appliances.
- Plan one lowered prep area with open knee space and keep standard counter height elsewhere in the room.
- Choose full-extension drawers over doors for base storage so contents slide to the front.
- Place the microwave and wall oven at a height the cook can see into without bending.
- Skip the island in a small kitchen if it costs you the turning circle.
Table of Contents
- Why Accessible Kitchen Design Changes How a Kitchen Works
- Accessible Kitchen Requirements: Clearances and Reach Ranges That Decide the Layout
- A Step-by-Step Layout Planning Guide for an Aging-in-Place Kitchen
- Senior-Friendly Kitchen Design Features That Earn Their Place
- Wheelchair-Accessible Kitchen Ideas for Real Cooking and Cleanup
- Small Accessible Kitchen Design: Making a Compact Footprint Work
- Flooring, Lighting, and Fall Prevention in the Kitchen
- Planning an Accessible Kitchen Renovation in Old Bridge and Central New Jersey
- Frequently Asked Questions
Why Accessible Kitchen Design Changes How a Kitchen Works
Accessible kitchen design arranges cabinets, counters, appliances, and open floor space so a person with limited mobility, reduced strength, or a wheelchair can cook and clean up without help.
Most homeowners judge a kitchen by its finishes. The work that determines whether it functions for the next twenty years sits behind the cabinet doors and under the floor.
Three things change when accessibility drives the plan:
- Reach replaces storage volume. A deep cabinet you cannot reach is dead space.
- Circulation replaces counter length. A long run of counters you cannot turn around in is a trap.
- Task lighting replaces a single ceiling fixture. Shadows cause more accidents than clutter.
Below, we break down the measurable requirements, the features worth paying for, and how a compact or wheelchair-accessible kitchen actually gets planned.
Accessible Kitchen Requirements: Clearances and Reach Ranges That Decide the Layout
An accessible kitchen requirement is any dimension that determines whether a person can approach, turn, and work at a surface safely. Get these numbers right at the planning stage and most other decisions fall into place. The figures below are the ones we check on every aging-in-place plan in Old Bridge; treat them as design targets, not code mandates, because a private single-family home is not bound by the ADA Standards for Accessible Design.
Clear Floor Space, Turning Radius, and Maneuvering Room
A wheelchair needs a clear turning circle at the center of the work zone, and a walker needs a straight path that is not pinched by an island or table.
- Pass-through pinch points: measure the narrowest point between the refrigerator door swing and the opposite counter before ordering appliances.
Plan a continuous clear path from the doorway through the work triangle, free of rugs, pet bowls, and stools that migrate. If someone uses a wheelchair, the turning area belongs at the heart of the room, not tucked into a corner.
Countertop Height, Knee Clearance, and Work Surface Depth
Standard counter height is comfortable for a standing adult of average height and punishing for someone seated or stooped.
- Sink and cooktop: a shallow sink with the drain at the rear, and a cooktop with front-mounted controls, preserve knee space and keep hands away from heat.
Vary the heights.
Watch out: a lowered counter with a cabinet underneath defeats the purpose; the knee space has to stay open.
If doorways are part of the problem, our guide on how to widen doorways for wheelchair access at home walks through the framing and finish decisions.
A Step-by-Step Layout Planning Guide for an Aging-in-Place Kitchen
Planning an aging-in-place kitchen starts with an honest assessment, not a catalog. Work through these steps in order.
- Assess how the household actually moves. Note who cooks, who carries, who uses a cane, walker, or wheelchair, and where they currently struggle.
- Map the work triangle. Sink, stove, and refrigerator should sit close together with clear floor between them.
- Set the circulation path first. Draw the clear route through the room before placing a single cabinet.
- Choose counter heights by zone. One lowered prep area with knee clearance, standard height elsewhere.
- Assign storage by reach. Everyday items between shoulder and knee; occasional items high or low.
- Confirm appliance placement and control access. No reaching across a hot surface, no controls hidden behind a door.
- Specify lighting and flooring last. Both follow the layout, not the other way around.
For a broader view of how these decisions fit a whole-house plan, see our guide on how to plan aging in place modifications.
Senior-Friendly Kitchen Design Features That Earn Their Place
Senior-friendly kitchen design is less about gadgets and more about removing the small daily frictions that add up. The features below are the ones we specify most often, because they change how the room feels to use.
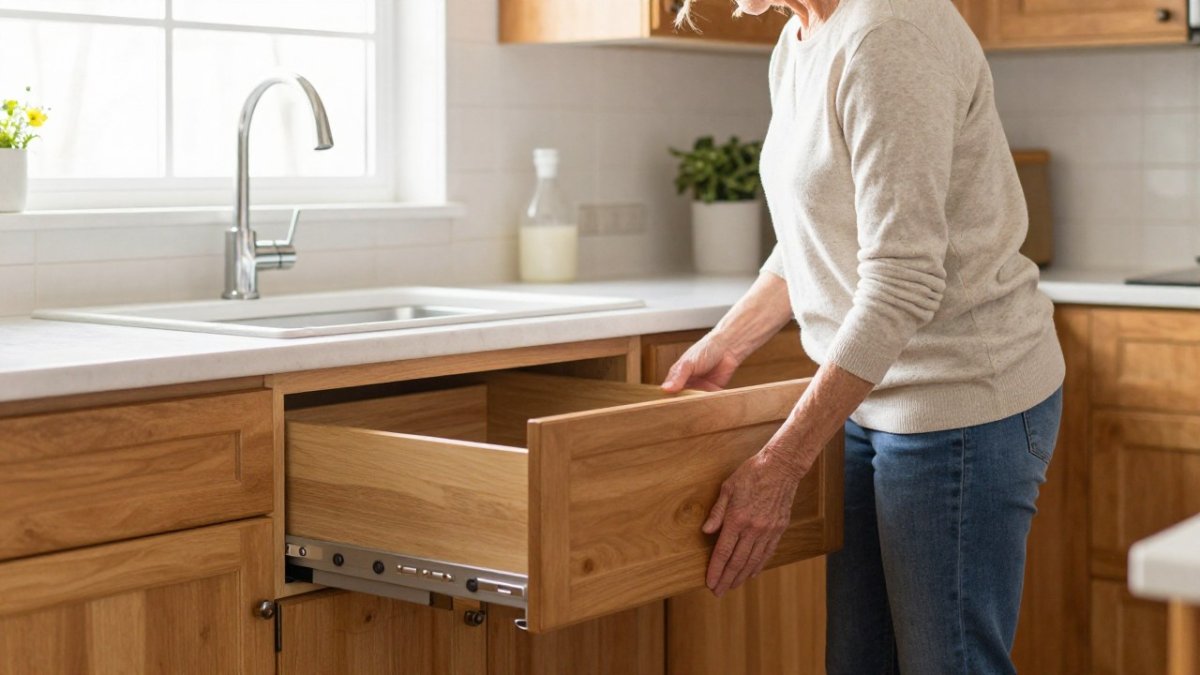
Cabinet Accessibility, Pull-Out Shelves, and Drawer Storage
The back of a lower cabinet is where good intentions go to die. Full-extension drawers and pull-out shelves bring the contents to the front, so nobody is kneeling on the floor to find a pot.
- Drawers over doors for base storage wherever the budget allows; a full-extension drawer slides out far enough to see and reach the back.
- Pull-out shelves in existing lower cabinets as a lower-cost option; they retrofit into standard openings but reduce usable height slightly.
- Lever handles instead of knobs.
- D-shaped pulls on drawers.
A common pattern is to convert the most-used base cabinet, usually beside the sink or cooktop, first, then phase the rest. Watch out: a pull-out shelf loaded with cast iron can exceed the rating of a light-duty slide; match the hardware to the load.
Appliance Placement, Easy-to-Reach Controls, and Lever Handles
Put the microwave and wall oven at a height the cook can see into without bending. Keep the refrigerator beside a counter so items can be set down immediately.
- Side-swing oven door rather than a drop-down door.
- Microwave at counter height or in a drawer-style unit, not over the range where reaching across heat is required.
- Lever or touch controls on the cooktop, at the front edge and clearly marked.
- Induction cooktop as an option: the surface stays cooler around the pan, which reduces burn risk for someone with reduced sensation.
- Dishwasher raised off the floor so dishes load at lap height rather than ankle height.
If you are replacing appliances anyway, this is the moment to get it right. Watch out: a side-swing oven needs clearance on the hinge side, so confirm the door swing against the adjacent counter or wall before ordering.
Lighting, Visibility, and Glare Reduction
Shadows cause more accidents than clutter. Layer ceiling fixtures with under-cabinet task lighting and a light inside the pantry, and choose diffused fixtures rather than bare bulbs to cut glare. Motion-sensor lighting at the entry helps when hands are full. Contrast is the other half of visibility: light countertops against darker cabinet fronts, and dark handles against light doors, make edges and controls easier to find.
Wheelchair-Accessible Kitchen Ideas for Real Cooking and Cleanup
Wheelchair-accessible kitchen ideas work when the person can complete a full task without transferring out of the chair.
A shallow sink with the drain at the rear gives more legroom underneath. Insulate the exposed plumbing so knees do not contact hot pipes.
A useful test: can the person make a pot of coffee and wash the cup without asking for help?
Small Accessible Kitchen Design: Making a Compact Footprint Work
Small accessible kitchen design succeeds by subtraction. A compact kitchen cannot offer every feature, so the planning question becomes which ones carry the most daily value.
Skip the island if it costs you the turning circle. Choose a single lowered prep zone over two half-measures.
Watch out: in a small kitchen, a standard-depth refrigerator placed at the end of a run can narrow the entry to the point where a walker will not pass.
Flooring, Lighting, and Fall Prevention in the Kitchen
Slip-resistant flooring and layered lighting do more for fall prevention than any single other upgrade.
Choose a floor with texture and a matte finish. Avoid polished tile and loose rugs.
For lighting, combine ceiling fixtures with under-cabinet task lighting and a light inside the pantry.
Our guide on choosing durable flooring for kitchen remodels covers the material trade-offs in more detail.
Planning an Accessible Kitchen Renovation in Old Bridge and Central New Jersey
Homeowners planning an accessible kitchen renovation often face tight footprints and a preference to stay in the home rather than move.
If you are comparing contractors near me in Middlesex or Monmouth County, ask for the New Jersey home improvement contractor registration, proof of insurance, and references from projects similar to yours.
You can see what we offer on our kitchen remodeling and renovation services page, or review our aging-in-place remodeling services for safer bathrooms, grab bars, and accessibility improvements.
| Planning Stage | What to Decide | Why It Matters |
|---|---|---|
| Assessment | Who uses the kitchen and how | Sets every later dimension |
| Circulation | Clear path and turning area | Prevents the most common failure |
| Work zones | Counter heights and knee space | Determines comfort while working |
| Storage | Drawer and pull-out strategy | Removes bending and reaching |
| Appliances | Placement and control access | Reduces strain and burn risk |
| Finishes | Flooring and lighting | Directly affects fall risk |
Frequently Asked Questions
What are some examples of elderly-friendly kitchen design ideas?
Start with the changes that remove bending, stooping, and overhead reaching. Pull-out shelves in lower cabinets, deep drawers for pots and pans, and a section of countertop at a lower height for seated prep make the biggest daily difference. Add lever handles on faucets and doors, task lighting under upper cabinets, and slip-resistant flooring. A side-opening wall oven at counter height and a cooktop with front-mounted controls also help. These features are the core of senior-friendly kitchen design and can be phased in over time.
How do I make a kitchen handicap accessible?
Focus on clearances first, then reach. A wheelchair user needs open floor space in front of counters and appliances, a turning area, and knee clearance under at least one work surface. Lower a section of countertop, keep the most-used items between roughly knee and shoulder height, and choose a shallow sink with a lever faucet. Front-mounted appliance controls and a side-opening oven reduce reaching across hot surfaces. Bring in a contractor early, because cabinet and appliance changes usually drive the layout.
What is the 3 kitchen rule?
The three-zone rule splits the kitchen into storage, prep, and cooking zones, and keeps each zone close to the others so you take fewer steps between them. In an accessible kitchen the same idea applies with more space: the sink, main prep area, and cooktop should sit within a short walking distance, with clear floor space between them. Grouping items by where you use them also cuts trips across the room, which matters for anyone with mobility limitations or fatigue.
How high should kitchen counters and storage be for accessibility?
Standard countertop height is too high for many seated users. A common approach is to keep most of the counter at standard height and lower one section with open space underneath for knees. For storage, keep everyday dishes and ingredients within an easy reach range, and use pull-out shelves or drawers below that. Ask your contractor to set heights around the person who will use the kitchen most.
What flooring is safest for an aging-in-place kitchen?
Look for slip-resistant, low-glare flooring with a slightly textured surface, such as certain luxury vinyl, linoleum, or matte tile with enough grout texture to grip. Avoid highly polished stone and large-format glossy tile, which get slick when wet. Keep transitions between the kitchen and adjacent rooms flush to remove trip hazards, and skip loose rugs or secure them with a low-profile backing. A matte finish also cuts glare from overhead lights.
Can an existing kitchen be adapted for aging in place?
Yes, in most cases. Common adaptations include swapping cabinet doors for pull-out shelves, adding task lighting, replacing knobs with lever handles, lowering one section of countertop, and changing appliance placement so controls are easier to reach. Larger changes, like widening a walkway or moving a sink, depend on the existing plumbing and wall structure. A contractor can walk the kitchen with you, measure clearances, and separate what can be done in phases from what needs a full renovation.