 How-to
7 Steps to Optimize Small Kitchen Layouts Effectively
Last Updated: November 2, 2026
Quick Summary
To optimize small kitchen layouts effectively, measure every wall, window, door, and outlet, then map the sink, stove, and refrigerator into a work triangle before ordering anything. Draft a to-scale drawing and check clearances such as 42-inch work aisles and 36-inch walkways, then free counter space with pull-out shelves and tall pantry cabinets.
- Measure each wall at floor level and at counter height, and note window and door positions.
- Galley kitchens are the most efficient use of a narrow room, keeping everything within a step or two.
- Work aisles need at least 42 inches between opposing counters in a one-cook kitchen.
- Each work triangle leg should fall between 4 and 9 feet, with all three legs totaling 13 to 26 feet.
- Plan lighting and outlets alongside compact appliances like a counter-depth fridge and 24-inch range.
Table of Contents
- Why Small Kitchen Layouts Fail Before You Buy a Single Cabinet
- Step 1: Measure Your Kitchen and Map the Work Zones
- Step 2: Choose From Small Kitchen Floor Plans With Dimensions
- Step 3: Draft a Small Kitchen Layout Drawing Before You Demo
- Step 4: Free the Counter With Smart Small Kitchen Storage Ideas
- Step 5: Scale Appliances and Plan Lighting, Ventilation, and Outlets
- Step 6: Very Small Kitchen Ideas on a Budget That Still Look Built-In
- Step 7: Plan for Accessibility and How Your Household Actually Cooks
- Frequently Asked Questions
Why Small Kitchen Layouts Fail Before You Buy a Single Cabinet
Most small kitchens fail at the planning stage, not the shopping stage.
At PIONEER WOODWERX, we see the same pattern repeat across Central New Jersey kitchens.
Small kitchen layouts are the arrangement of work zones, storage, and appliances inside a limited footprint.
A useful plan starts with measurements, movement, and how your household actually cooks rather than with cabinet styles and finishes.
Step 1: Measure Your Kitchen and Map the Work Zones
Measure every wall, window, door, and outlet before anything else. Then map three zones: the sink, the stove, and the refrigerator.
A common mistake is measuring only the floor. You need wall height, window sill heights, and door swing clearance too.
- Measure each wall at floor level and at counter height
- Note window and door positions, including swing direction
- Record outlet and vent locations
- Mark the fridge, sink, and stove spots
If you want a professional to double-check your numbers before you commit, request a free consultation with our team.
Step 2: Choose From Small Kitchen Floor Plans With Dimensions
The right footprint depends on your room's shape. Three plans cover most small kitchens, and each one trades something to gain something.
Galley, L-Shaped, and U-Shaped Footprints
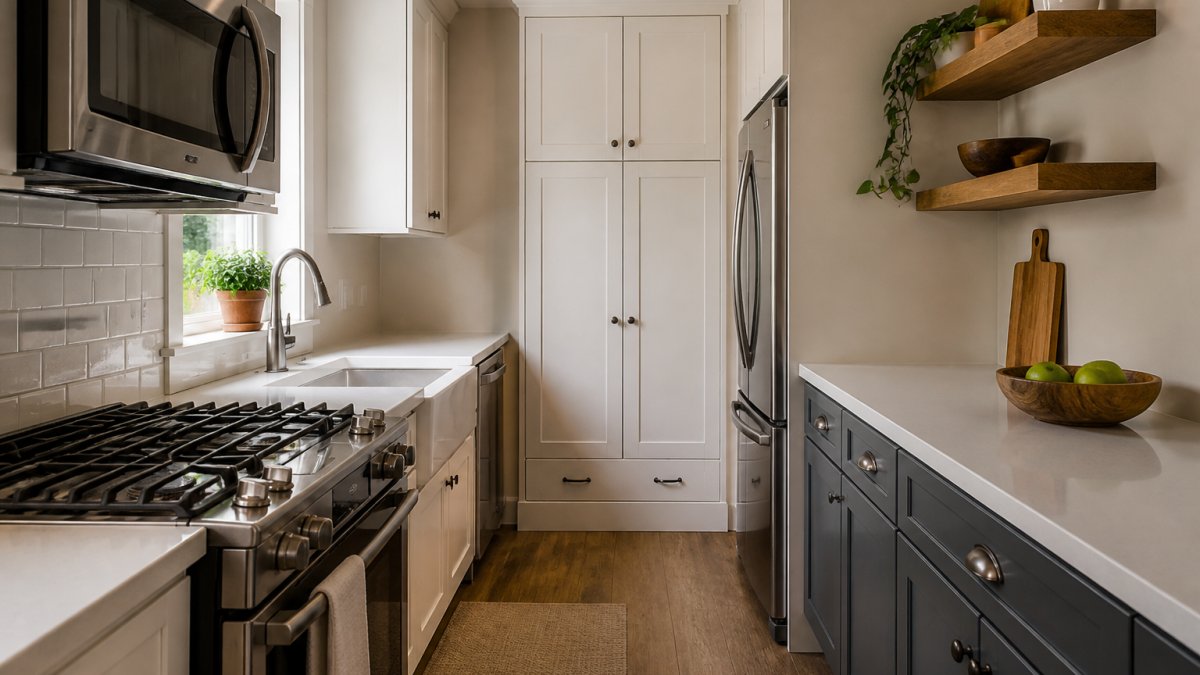
Galley kitchens place counters on two facing walls. They are the most efficient use of a narrow room and keep everything within a step or two.
L-shaped kitchens free up one wall for a table or doorway. They suit rooms with two usable walls and one blocked by traffic.
U-shaped kitchens wrap counters around three walls. They offer the most storage but can feel tight if the room is under about 10 feet wide.
| Layout | Best Room Shape | Trade-off |
|---|---|---|
| Galley | Long and narrow | No room for seating |
| L-shaped | Two usable walls | Less counter than U-shape |
| U-shaped | Square, 10 ft+ wide | Can feel closed in |
Pick the plan that matches your walls, not the one that looks best in a photo. When you are ready to see what a contractor's kitchen remodeling service covers, from cabinet work to full gut renovations, that page lays out the scope.
Step 3: Draft a Small Kitchen Layout Drawing Before You Demo
A sketch on paper is cheap; a wall moved after demolition is not. Before demo day, draft a to-scale layout drawing and run it through a measured checklist. This is the step most homeowners skip, and it is where small kitchens quietly fail.
Set Up a To-Scale Drawing
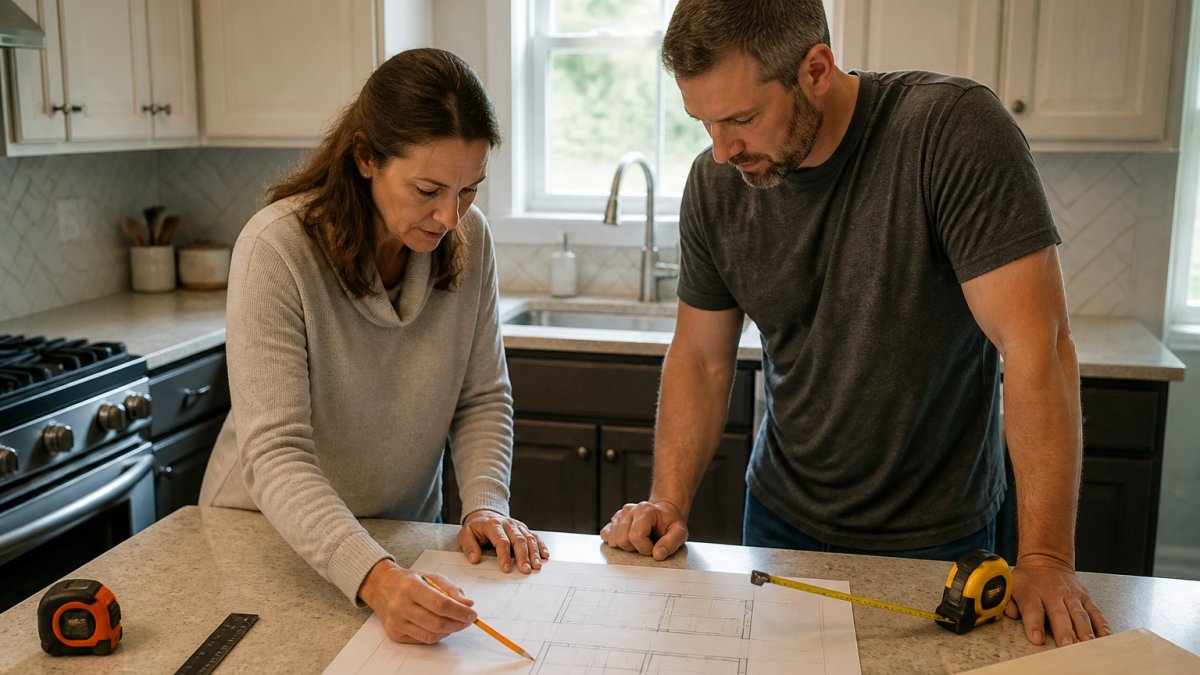
Use graph paper with one square equal to one foot, or a floor-plan tool. Draw the room's shell first, every wall, window, door, and permanent obstruction, then place appliances and cabinets to scale.
Check These Clearances Against Your Drawing
Measure your drawing against widely used planning guidelines for kitchens, such as clearances for work aisles, walkways, and appliance doors:
- Work aisles: at least 42 inches between opposing counters in a one-cook kitchen; 48 inches if two people cook at once.
- Walkways: at least 36 inches of clear path where the kitchen is also a passage.
- Work triangle: the sink, stove, and refrigerator should form a triangle with each leg between 4 and 9 feet, and the sum of all three legs between 13 and 26 feet.
- Seating clearance: at least 36 inches from counter edge to the nearest wall or obstacle behind a stool; 44 inches if the seating is behind a raised counter.
If your drawing fails any of these, adjust the plan now, not after cabinets are ordered. Before you schedule demo day, it helps to know the realistic kitchen remodel timeline so you can plan around it.
Trace the Workflow, Not Just the Furniture
Mark the refrigerator, sink, and range on the drawing, then trace the path you actually walk: fridge to sink to prep to range to serving. Look for pinch points where two people would collide, and for doors that swing into a work zone. A layout can pass every clearance number and still feel wrong if the workflow zigzags.
Compare Two or Three Options Side by Side
Draw at least two versions of the room, for example, a galley with a peninsula versus an L-shape with a small island, and score each on counter length, storage volume, seating, and walkway width. Keep the drawing that wins on the criteria your household uses most.
Watch out: measuring only the floor is the most common error. Record wall height, window sill heights, ceiling height, and door swing direction, because a tall cabinet or a window that opens inward can kill a layout that looked fine on paper.
Step 4: Free the Counter With Smart Small Kitchen Storage Ideas
Counter space disappears fast in a small kitchen. The fix is moving items off the counter and into smarter storage, not buying more small appliances.
Start with the cabinets you already have. Add pull-out shelves to base cabinets so you can reach the back.
- Pull-out drawers in base cabinets
- Tall pantry cabinets floor to ceiling
- Wall storage above the backsplash
- Slim pull-outs in gaps beside the fridge
- Open shelving for daily dishes
If you are weighing custom cabinetry for these upgrades, our guide to the cost of custom kitchen cabinetry explains what the work involves.
Step 5: Scale Appliances and Plan Lighting, Ventilation, and Outlets
Compact appliances buy back usable space. A counter-depth fridge, a 24-inch range, and a slim dishwasher fit rooms where full-size units would crowd the walkway.
Plan lighting and outlets at the same time. Under-cabinet lights brighten the counter. A range hood needs a clear path to the outside.
Get this wrong and you will be running extension cords across a kitchen that was supposed to feel bigger.
Step 6: Very Small Kitchen Ideas on a Budget That Still Look Built-In
Not every improvement requires a full renovation. The smartest small-kitchen budgets are tiered: spend first on the changes that fix function, then on the ones that add visual calm, and only then on upgrades that are nice to have. Here is how to prioritize.
Tier 1: Low-Cost Changes That Fix Function
These are the highest-return moves in a small kitchen because they solve daily friction without touching walls or plumbing:
- Add pull-out shelves and drawer organizers inside existing cabinets.
- Install under-cabinet task lighting on a plug-in or battery model.
- Mount wall racks and rails above the backsplash for daily tools.
- Swap a bulky microwave for a slim counter model or a built-in shelf niche.
- Add a rolling cart that tucks under a counter and rolls out for extra prep space.
Most of these can be done in a weekend and are reversible, which matters if you plan to renovate later.
Tier 2: Mid-Scope Changes That Require a Contractor
These changes involve electrical, plumbing, or carpentry work and should be planned together so walls are opened only once:
- Relocating or adding outlets and task lighting circuits.
- Installing a range hood and venting it to the exterior.
- Replacing a standard-depth refrigerator with a counter-depth model.
- Adding a tall pantry cabinet or a slim pull-out beside the refrigerator.
- Converting a closed upper cabinet run to open shelving.
Grouping these into one scope usually costs less than doing them one at a time, because labor and wall access are shared.
Tier 3: Full Renovation Decisions
Layout changes, moving the sink, range, or refrigerator, removing a wall, or adding an island or peninsula, belong in a full renovation. These decisions should be made only after the measured drawing in Step 3 confirms the new layout meets clearance and workflow standards. A layout change that fails those checks is not a budget upgrade; it is a future problem.
How to Prioritize When the Budget Is Tight
A practical rule most contractors use: fix function first, then storage, then finishes. If a change does not make cooking easier, storing more, or cleaning simpler, defer it.
Watch out: buying budget cabinets that do not match the room's scale.
If you are weighing custom cabinetry for these upgrades, our guide to the cost of custom kitchen cabinetry explains what the work involves.
Step 7: Plan for Accessibility and How Your Household Actually Cooks
The best small kitchen layouts fit the people who use them.
Lower a section of counter for seated prep. For more specific ideas, this guide to making a kitchen more accessible for seniors covers concrete modifications.
Our team specializes in aging-in-place remodeling. Ask us about the specific modifications that fit your home.
For homeowners in Old Bridge and across Middlesex, Monmouth, and Union Counties, the right layout starts with a real conversation about your household.
Frequently Asked Questions
How do you plan an efficient layout for a small kitchen?
Start by measuring the room and marking the sink, stove, and refrigerator, then check the walking space between them. Group those three into a tight work triangle so you are not crossing the room to drain pasta. Next, match the footprint to a proven shape: galley for narrow rooms, L-shaped for corner space, U-shaped only when three walls allow it. Draw the plan to scale before buying anything, and confirm door swings, drawer pull clearance, and appliance openings so the layout works on paper first.
What is the best layout for a very small kitchen?
A galley layout usually wins in a very small kitchen because it puts everything on two facing runs and keeps the work triangle short. An L-shaped layout is the next best choice when one wall is blocked by a door or window. Skip the island unless the room is wide enough to keep clear walking space on all sides; a shallow peninsula or tuck-in seating often delivers the same function without eating the floor. The right answer depends on your measurements, not on photos you saw online.
How can you add storage to a small kitchen without cluttering the counters?
Move storage upward and inward. Full-height cabinets, open shelving above the backsplash, and drawer dividers keep daily items off the counter. Inside base cabinets, pull-out shelves and deep drawers beat fixed half-shelves because you can reach the back. Use the awkward gaps too: a slim pull-out beside the refrigerator, a toe-kick drawer, or a rack on the inside of a cabinet door. The goal is a home for every item so the counter stays clear for food preparation.
What should you measure before redesigning a small kitchen?
Measure wall-to-wall distances, window and door locations including swing direction, ceiling height, and the exact width and depth of every appliance opening. Note outlet and vent locations, since moving them affects scope and budget. Then measure the walking space between counters and check it against your layout drawing. Bring those numbers to a consultation so the plan reflects your actual room, not a generic template, and so any structural questions get flagged before demolition starts.
A small kitchen that fights you every day is a planning problem, not a space problem. PIONEER WOODWERX builds kitchens around how your family actually cooks, with real wood cabinetry built to your specifications and full renovation management from start to finish. We also bring aging-in-place expertise to every project, so your kitchen works for years to come. Get started with PIONEER WOODWERX and turn your small kitchen into the most efficient room in the house.