 How-to
Basement Remodeling Planning Checklist for Homeowners
Last Updated: November 6, 2026
Quick Summary
A basement remodeling planning checklist for homeowners starts with defining how the space will be used and drafting a floor plan around the foundation, then assessing moisture, drainage, radon, electrical capacity, and egress before any demolition. Confirm permit and inspection requirements with your local construction office, and lock in finishes before framing begins.
- Sketch an ideal and a realistic floor plan, then mark obstacles with painter's tape.
- Test for radon before walls close up, since mitigation is simpler while the space is open.
- Any sleeping room needs a code-compliant egress window, which shapes layout before design starts.
- Your contractor should pull permits and schedule inspections, not skip them to save time.
- Pick flooring, paint, and fixtures before framing starts to keep the schedule tight.
Table of Contents
- Why Basement Remodeling Planning Starts With Purpose and Layout
- Pre-Remodel Basement Assessment: Moisture, Drainage, and Air Quality Checks
- Your Finishing Basement Checklist for Materials, Framing, and Insulation
- Basement Finishing Permits in New Jersey: What Homeowners Should Verify
- Rough-Ins for Plumbing, Electrical, and Lighting
- Basement Remodel Project Timeline and Decision Dependencies
- Downloading a Basement Remodeling Planning Checklist for Homeowners PDF
- Requesting a Free Consultation for Your Old Bridge Basement Project
- Frequently Asked Questions
Why Basement Remodeling Planning Starts With Purpose and Layout
A basement remodeling planning checklist for homeowners works best when it starts with two questions: what will this space do, and how does the foundation shape it? The families who answer those questions first tend to save themselves weeks of second-guessing later.
Purpose drives every decision that follows. A guest suite needs egress and a bathroom rough-in. A home office needs circuits and quiet. A playroom needs durable finishes and storage.
Get this wrong and you'll pay for it in change orders. Get it right and the rest of the checklist almost writes itself.
Deciding How the Space Will Be Used
Start by listing every activity the room must support, then rank them. Most homeowners try to fit five uses into one space and end up with a room that does none of them well.
Ask yourself:
- Who will use this room daily, and who visits occasionally?
- Does it need a bathroom, a wet bar, or neither?
- Will it serve aging-in-place needs now or later?
- What storage do you actually lack upstairs?
Write your answers down. That list becomes the filter for every material and layout choice ahead.
Drafting a Floor Plan That Works With the Foundation
Your floor plan has to respect what's already there. Support columns, the furnace, the water heater, and the main drain line all limit where walls can go.
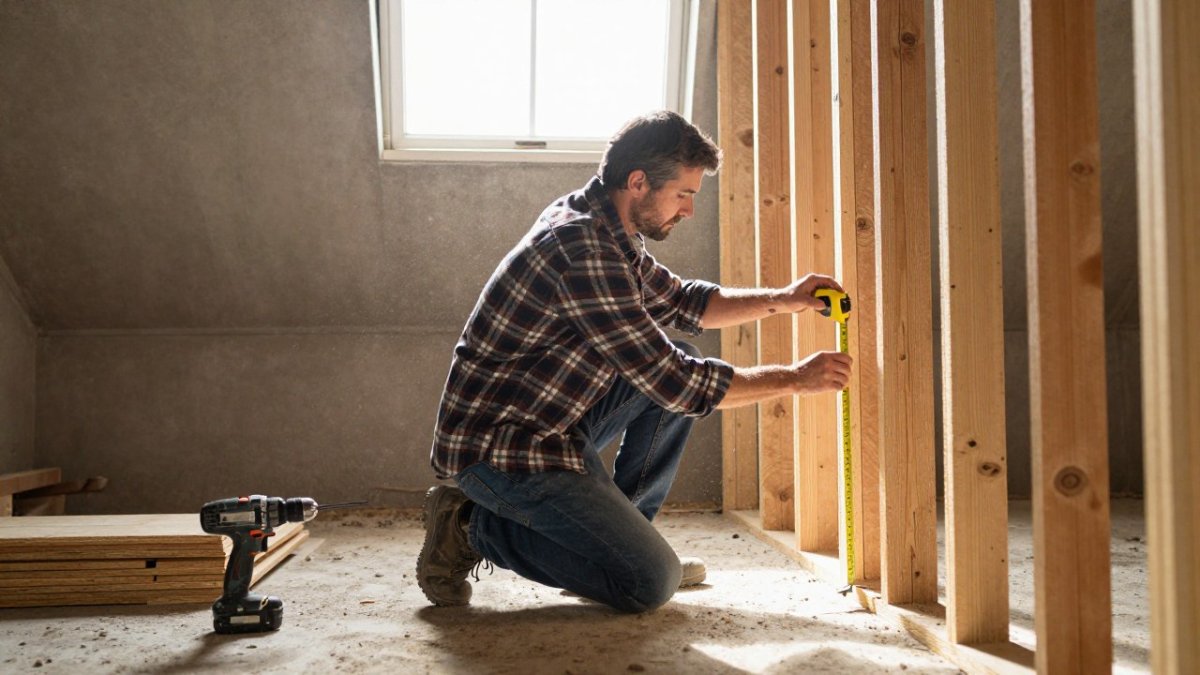
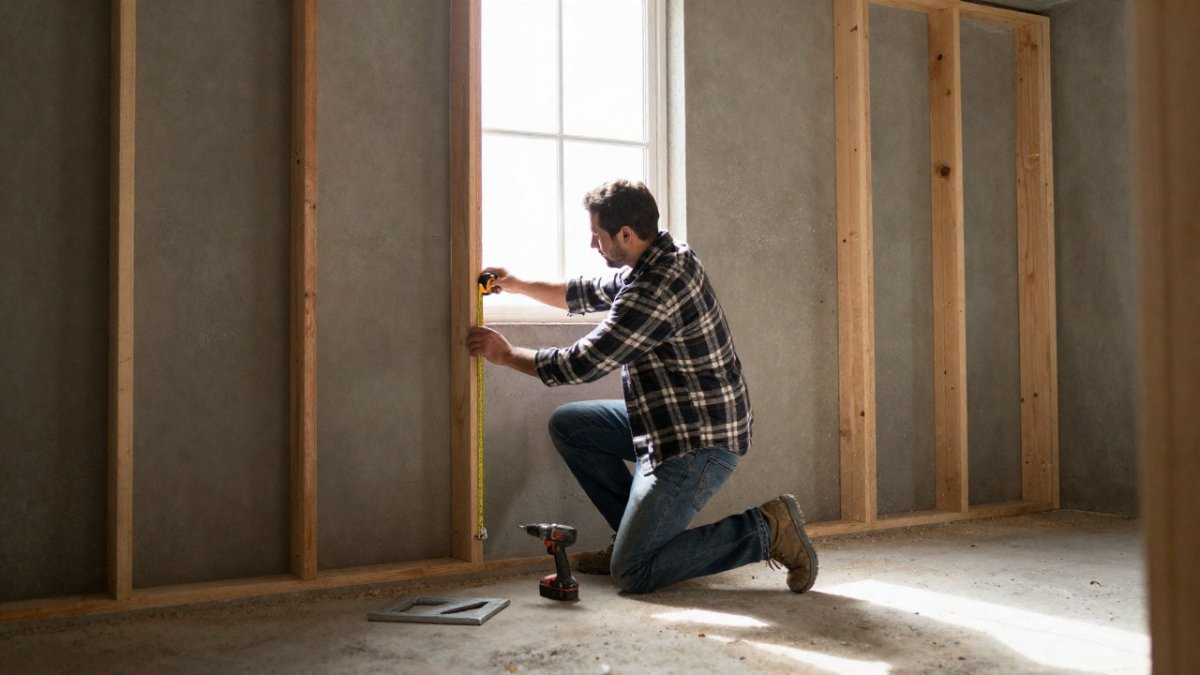
Sketch two versions: one ideal, one realistic. Then walk the space with a tape measure and mark obstacles with painter's tape.
A common mistake is planning a bathroom far from the existing drain stack. Moving plumbing across a slab gets expensive fast. Keep wet areas close to existing lines and your budget stays sane.
Pre-Remodel Basement Assessment: Moisture, Drainage, and Air Quality Checks
The most important step in any basement remodel is the assessment done before demolition. Moisture control decides whether your finished space stays comfortable or turns into a mold problem within a year, and a handful of other checks decide whether your plan is even buildable. Walk the space in this order so nothing gets missed.
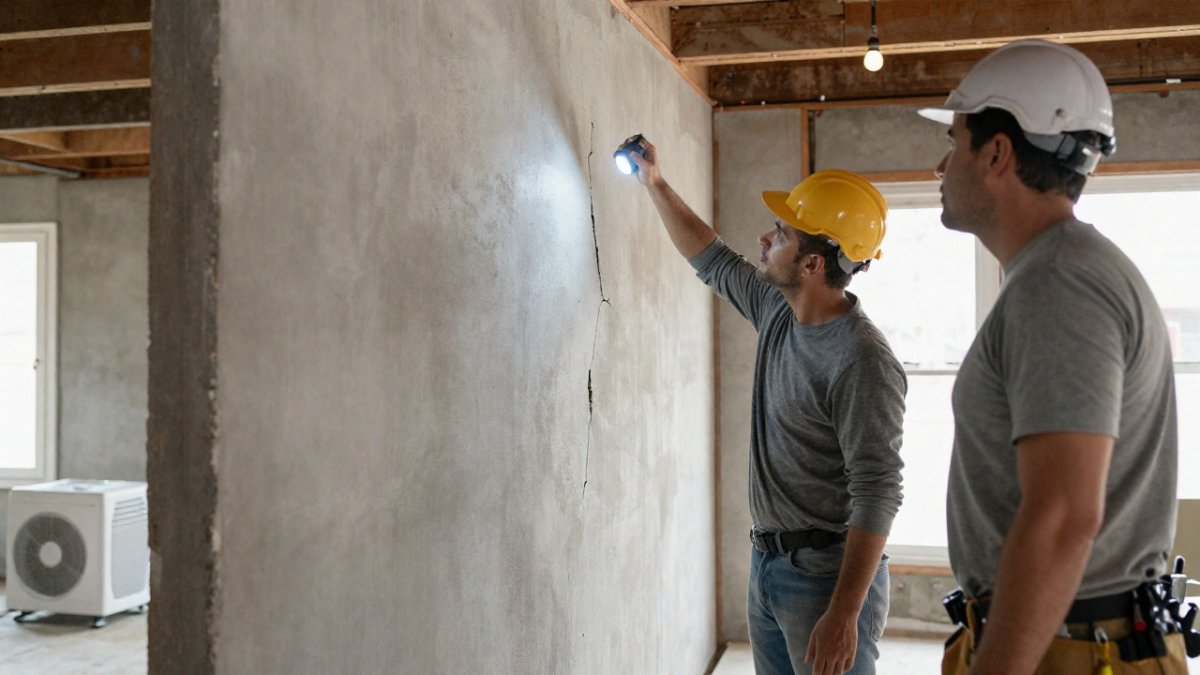
1. Water intrusion and drainage. Look for water stains, efflorescence (the white powder left when moisture pushes salts through concrete), damp smells after rain, and any sign of standing water. Check the age and function of the sump pump, confirm the discharge line runs well away from the foundation, and walk the exterior grading. Soil that slopes toward the house sends water back to the basement no matter how good the interior finishes are. Gaps around windows and the sill plate are common entry points.
2. Foundation condition. Hairline cracks are normal; horizontal cracks, stair-step cracks in block walls, and bowing are not. Note any crack wider than a hairline and have a structural professional look at it before framing hides it. This is also the moment to measure ceiling height and clearances around beams and ductwork, because a low ceiling changes what lighting and flooring will work.
3. Radon and indoor air quality. The U.S. Environmental Protection Agency's guidance on radon recommends testing every home below the third floor, and basements are where radon concentrates. Test before you close up walls, not after, because mitigation is far simpler while the space is open. A common pattern is to test in winter when windows stay closed, since that is when readings are most representative.
4. Electrical capacity and mechanical systems. Open the panel and note available breaker space and the service amperage. A finished basement with a bathroom, wet bar, and dedicated circuits can push a panel that was already near its limit. Locate the furnace, water heater, and main drain line, and confirm they will still be accessible and code-compliant after walls go up. Confirm whether the space has any combustion appliances that need makeup air.
5. Egress and windows. Any sleeping room needs a code-compliant egress window, and that requirement shapes layout before design starts. Note existing window wells, their depth, and whether they drain.
If you find moisture issues, address them first. Our guide on how to waterproof a basement before finishing walks through the options in detail. Watch out: finishing over an active moisture problem traps it behind drywall, and the cost to undo that later is far higher than solving it now.
Your Finishing Basement Checklist for Materials, Framing, and Insulation
A finishing basement checklist keeps material choices honest. Basements are damp, cool, and below grade, so standard upstairs materials often fail here.
Framing comes first. Build walls with a gap between the wood and the foundation wall, and use treated material for the bottom plate. This keeps framing dry if moisture ever creeps in.
Insulation follows. Rigid foam against the foundation wall, then framed cavities with the right R-value for your climate zone. Choose insulation suited to your climate zone, and don't skimp here.
Then materials:
- Moisture-resistant drywall or cement board near wet areas
- Luxury vinyl plank or tile flooring instead of solid hardwood
- Washable paint with a mold-resistant additive
- Solid-core doors that hold up to humidity
For step-by-step framing guidance, see how to frame a basement wall for moisture control.
Basement Finishing Permits in New Jersey: What Homeowners Should Verify
Permits are where DIY plans usually stall. Most finished basements require a building permit, and skipping one creates problems when you sell. The generic checklists online rarely tell you how to confirm what actually applies to your address, so treat this section as a verification sequence rather than a list to assume.
Start with your local construction office. Permitting is handled by the municipal construction office where the home sits, so the first call is to that office. Ask three questions: does a finished basement require a building permit there, which subcode inspections apply, and what drawings or plans must be submitted with the application. Requirements vary by municipality, so confirm rather than assume.
Confirm egress before layout is final. Any room used for sleeping needs a code-compliant egress window, and the local office can confirm the specific size, sill height, and well requirements that apply. This is a design constraint, not a paperwork step, so verify it before framing plans are drawn.
Map the inspection points to the schedule. A typical finished basement involves a rough-in inspection after framing and mechanical work but before drywall, an insulation inspection, and a final inspection at completion. Electrical and plumbing each carry their own rough-in and final sign-offs. Ask the office for the inspection sequence in writing so the schedule accounts for each hold point.
Know who pulls the permit. Your contractor should pull permits and schedule inspections. If someone suggests skipping the permit to save time, walk away, unpermitted work surfaces during resale and can force the buyer's lender to require corrections before closing.
Verify current code, don't rely on memory. Building codes and local amendments change, so confirm which version applies to your project with the construction office for your address rather than relying on an older or general checklist.
For a deeper look at state-specific requirements, read our finished basement New Jersey planning guide.
Rough-Ins for Plumbing, Electrical, and Lighting
Rough-ins happen before drywall, and they're the hardest thing to change later. Plan them with your finished layout in hand.
Plumbing rough-in covers supply lines, drain lines, and venting for any bathroom or wet bar. Keep fixtures near existing stacks and slope drain lines correctly.
Electrical work includes outlets, dedicated circuits for appliances, and GFCI protection near water. Basements need more outlets than you think.
Lighting should layer ambient, task, and accent. Recessed lights work well with low ceilings, and dimmers make the space flexible.
Decide now where the TV, desk, and any smart features will live. Adding a circuit later means cutting drywall.
Basement Remodel Project Timeline and Decision Dependencies
Basement remodel schedules depend heavily on decisions you make early. Every delayed choice pushes the whole project back.
Here's how the phases stack up:
| Phase | Typical Duration | What Must Be Decided First |
|---|---|---|
| Design and permits | 3-6 weeks | Layout, use, egress needs |
| Demolition and assessment | 3-5 days | Moisture findings reviewed |
| Framing and insulation | 1-2 weeks | Materials selected |
| Rough-ins | 1-2 weeks | Fixture and lighting locations |
| Drywall and finishes | 2-3 weeks | Paint, flooring, trim chosen |
| Final inspection | 1 week | All inspections passed |
The dependency that trips up most homeowners is finishes. Pick flooring, paint, and fixtures before framing starts, not after. If you want to keep the schedule tight, our article on avoiding basement remodeling delays covers the common stalls.
Downloading a Basement Remodeling Planning Checklist for Homeowners PDF
A printable checklist beats a mental list every time, so work through the basement remodeling planning checklist for homeowners room by room, phase by phase.
What's inside:
- Purpose and layout worksheets
- Moisture and air quality inspection points
- Material selection guide by climate zone
- Permit and inspection tracker
- Timeline with decision deadlines
Print it, mark it up, and bring it to your contractor consultation. It keeps everyone on the same page.
Requesting a Free Consultation for Your Old Bridge Basement Project
Planning a basement remodel near me in Old Bridge starts with a conversation. We walk your space, check for moisture and structural issues, and talk through what your budget can realistically build.
PIONEER WOODWERX is a veteran-owned general contractor serving Central New Jersey, with basement remodeling among its specialties.
Ready to move from checklist to construction? Request a free consultation and let's map out your basement project.
Frequently Asked Questions
Do you need permits to finish a basement in Old Bridge, New Jersey?
Finishing a basement typically involves framing, electrical work, plumbing rough-ins, and insulation, which commonly require permits through the local construction office. Before any basement remodeling begins, ask your contractor to confirm which permits apply to your scope and who is pulling them. Skipping permits can stall inspections, complicate resale, and force work to be redone. Verify the current requirements directly with Old Bridge Township before signing a contract.
What should homeowners include in a basement remodeling planning checklist?
A solid checklist covers purpose and layout, a pre-remodel moisture and drainage assessment, material and insulation choices, permit verification, plumbing and electrical rough-ins, a project timeline with decision points, and a contingency reserve. Add radon testing and egress window review if the space will include a bedroom. Keep the checklist visible through construction so nothing gets skipped between phases.
How long does a basement remodel project timeline usually run?
Timelines vary with scope, permit turnaround, and material lead times. Projects adding a bathroom or wet bar generally take longer because of plumbing rough-ins and inspections. Build in buffer for permit review and material delivery. Ask your contractor for a phase-by-phase schedule so you know when decisions are due.
How can you tell if a basement is ready to be finished?
Look for a dry foundation, working drainage, and no recurring musty smell. Check for efflorescence, water stains, and cracks that widen over time. Test radon before framing goes up, since mitigation is far easier beforehand. If moisture issues appear, address them before any finishing basement checklist item proceeds. A pre-remodel assessment by an experienced contractor is the fastest way to confirm the space is ready.
Your basement has more potential than you're using right now. The difference between a smooth remodel and a stressful one comes down to planning before the first hammer swings. PIONEER WOODWERX brings veteran-owned discipline, full remodeling services, and aging-in-place expertise to every project across Middlesex, Monmouth, and Union Counties. Get started with PIONEER WOODWERX and build a basement your family actually uses.